Building the CarolApp
With the CarolApp created, your next step will be to build the docker image of CarolApp Monitor in your CarolApp.
In this tutorial isn't necessary to know docker to doing this step!
Uploading the manifest.json file
Go to the CarolApp Monitor in your Carol tenant and:
- Go to "Files" tab.
- Click on "Upload file".

After that, search your manifest.json file and select it.
Note
If you haven't downloaded the manifest.json file yet, you can make the download here.
Building the CarolApp Monitor
With your manifest.json uploaded, click on "Build" check the select box that appears.

Note
You don't need to place the GitHub Token because the repository is public.
Click on "Next" and select the version and the type of instance that'll run the CarolApp Monitor application.

If you had created your app with the informations suggested by tutorial, the tag will be the same for the App Version and Manifest. But we recommend to always choose the version that's be in the manifest.
Instance Type
It's suggested to choose the c1.micro instance to run the CarolApp Monitor. If you choose other, it can have different costs for the instance.
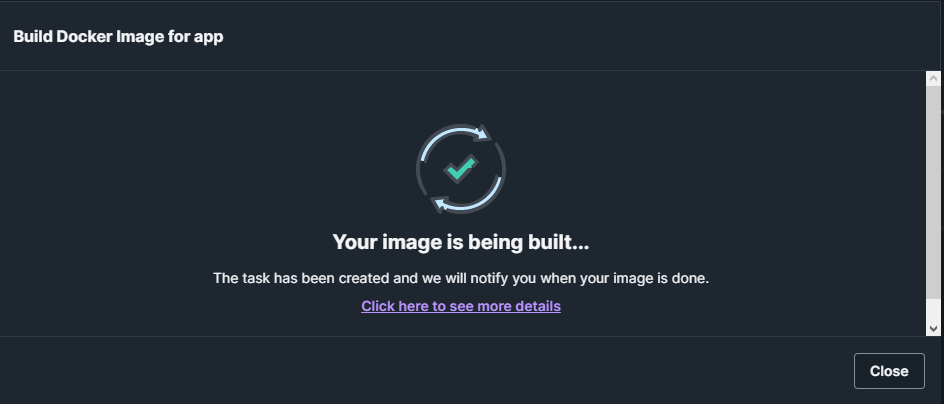
While your image is being built, you can work on your Carol tenant normally. Remember that this process can take a while.
If Your Build Fail
Sometimes Carol can start the task to build your image not properlly and because that your image built will be fail.
Don't worry, just repeat the process to build your image and that should be enough to work.
And it's done!  Your CarolApp Monitor is ready to configure a schedule and start monitoring your other apps.
Keep Your CarolApp Monitor Updated
Always that has an update on CarolApp Monitor project, you'll need to download the new manifest.json file and repeat the steps described in this section.
This will ensure that you always have the updated version of CarolApp Monitor.